Where’s that metal dealy you use to dig food?
– Homer
When we remodeled the kitchen (pre-blog, just after we moved out of the cave), the silverware drawer came with inserts something like this:
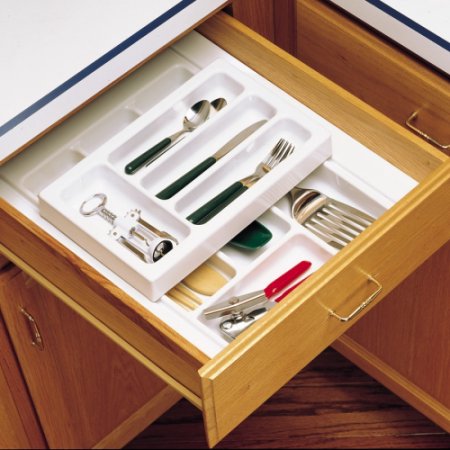
Rev-a-Shelf (via) — not what we had, but similar
That worked well, but the kitchen (and therefore the drawer) is small. This drawer has only 10 inches of inside width, and the inserts blocked some of the drawer’s cubic inch-age. I first reclaimed that space by taping bits of cardboard inside the drawer.
One day, I got a crazy idea about starting and finishing a project in a reasonable timeframe, so I decided to fix this drawer.
I wanted to have dividers and sliding storage, so I needed to figure out how I could pack all that in the available space.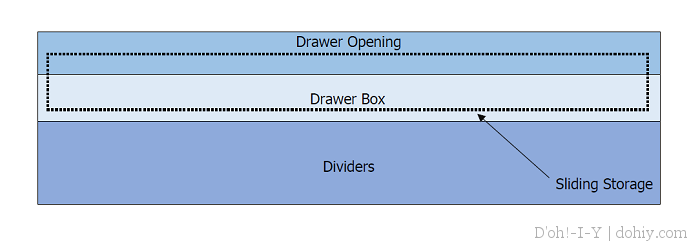
- Interior drawer box height: 2-5/8 inches
- Clearance from top of drawer box to top of drawer opening: 3/4 inch
- Total available depth (allowing for clearance): 3-1/4 inch
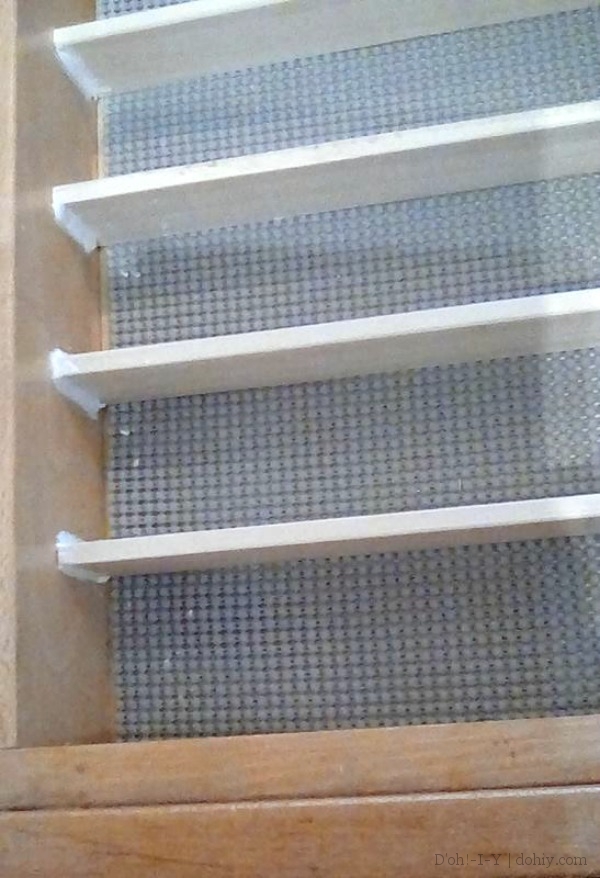
First, the dividers. It turns out, you don’t need a lot of depth; most drop-in organizers are pretty shallow, but do a fine job of corralling forks. I had some flat molding that I ripped down to 1-1/2″, then cut into lengths that fit across the drawer.
But how to attach them to the drawer? About six months ago, I bought some Sugru moldable glue without a specific plan for it. It’s not supposed to last six months, but I had it in the fridge, and it seemed fine, so I gave it a go.
Sugru is a little like Silly Putty. I rolled it into thin lengths and pressed them into the corners.
Once the Sugru set up, the dividers were good to go.
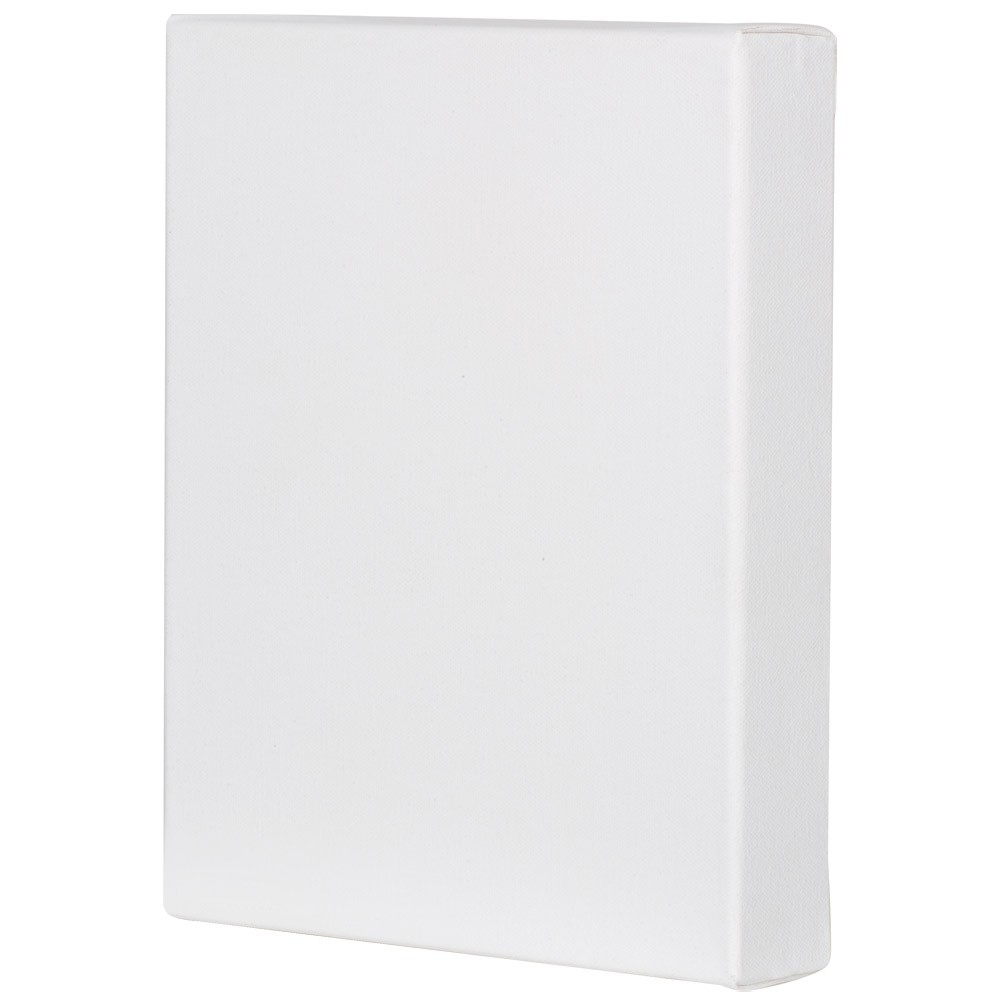
For the sliding part, I was poking around for a pre-existing tray or something I could re-purpose when I found…a painting.
Wrapped canvases are stapled to fairly heavy-duty wood frames, so I removed the canvas and attached a piece of pegboard to the bottom. Voila, a tray.
The frame/tray is 1-3/8 inch deep. To make it slide, I cut two pieces of half-inch square dowel to just under the outside width of the drawer box, then screwed them to the sides of the frame so that the tray would be against one side of the drawer. The gliders are an 1/8 inch from the top of the frame, making the frame stand 5/8 inch above the top of the drawer box. That gives it a 1/8 inch clearance when closing the drawer.
To keep it square in the drawer, I added a spacer to the other side — just another piece of flat molding under the dowels.
Retrospectively, I could have made my own tray for this purpose, but it was fun to figure out how to re-use something instead. And it works!
Something actually finished! I was starting to think that never happened.
The post Cutlery Drawer Makeover (and Why Not) first appeared on D'oh!-I-Y.

